
How to Use MiniMax H3 Image for Product Photography
on 8 days ago
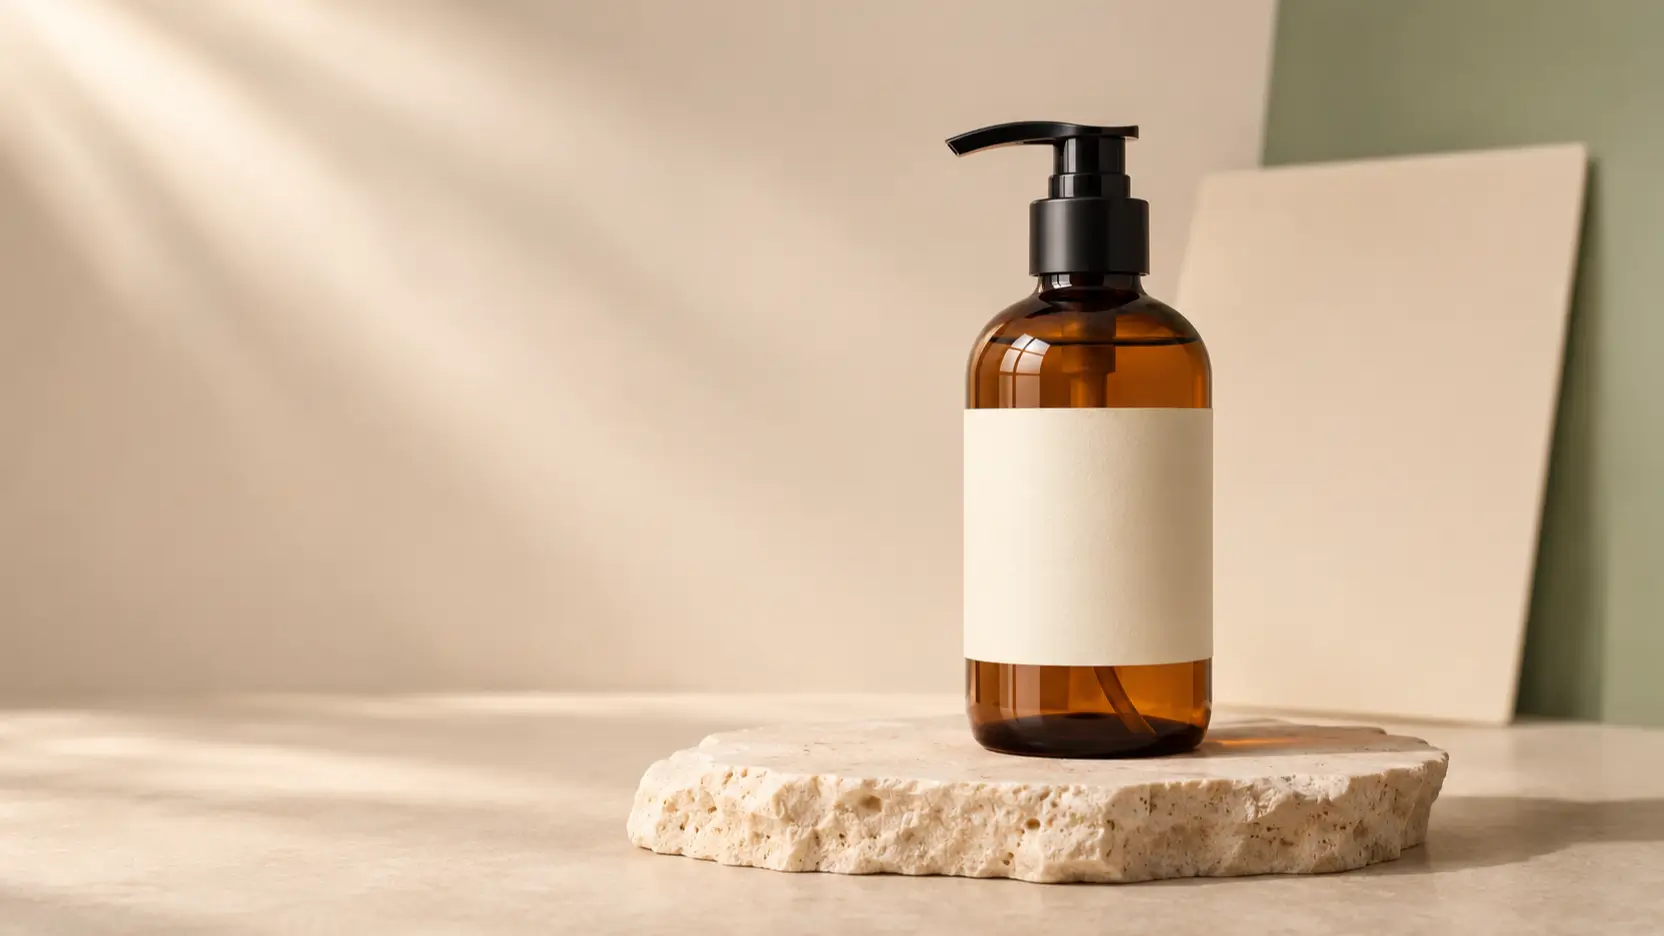
MiniMax H3 Image product photography starts with a clear product photo and a narrow editing brief. For an item you actually sell, use reference-based editing to explore a new setting, then compare the result with the original before publishing. Use text-only generation to plan scenes or invent fictional products.
This guide covers access, reference preparation, product photography prompts, and a review process for ecommerce images. It follows MiniMax's documented image workflow; it is not a hands-on benchmark.
Documentation checked November 12, 2026. The three illustrations are AI-generated editorial concepts, not MiniMax H3 Image output samples.
Set up MiniMax H3 Image product photography
Choose an entry point that explicitly offers MiniMax-H3-Image. The official model card links to Hailuo's web app and MiniMax's API platform. It describes both text-to-image generation and editing from reference images. Check the selected model before starting so you do not open a similarly named video tool.
For the API route, you need a MiniMax API key and account access. The image editing reference documents the model identifier, authentication, and input formats. Your browser app may show fewer settings than the API. Use the image-editing controls available in your account.
For a first attempt, choose one product, one background, and one intended placement. Test that shot before attempting a full catalog. You need to know which details require correction.
Prepare product reference images and a shot brief
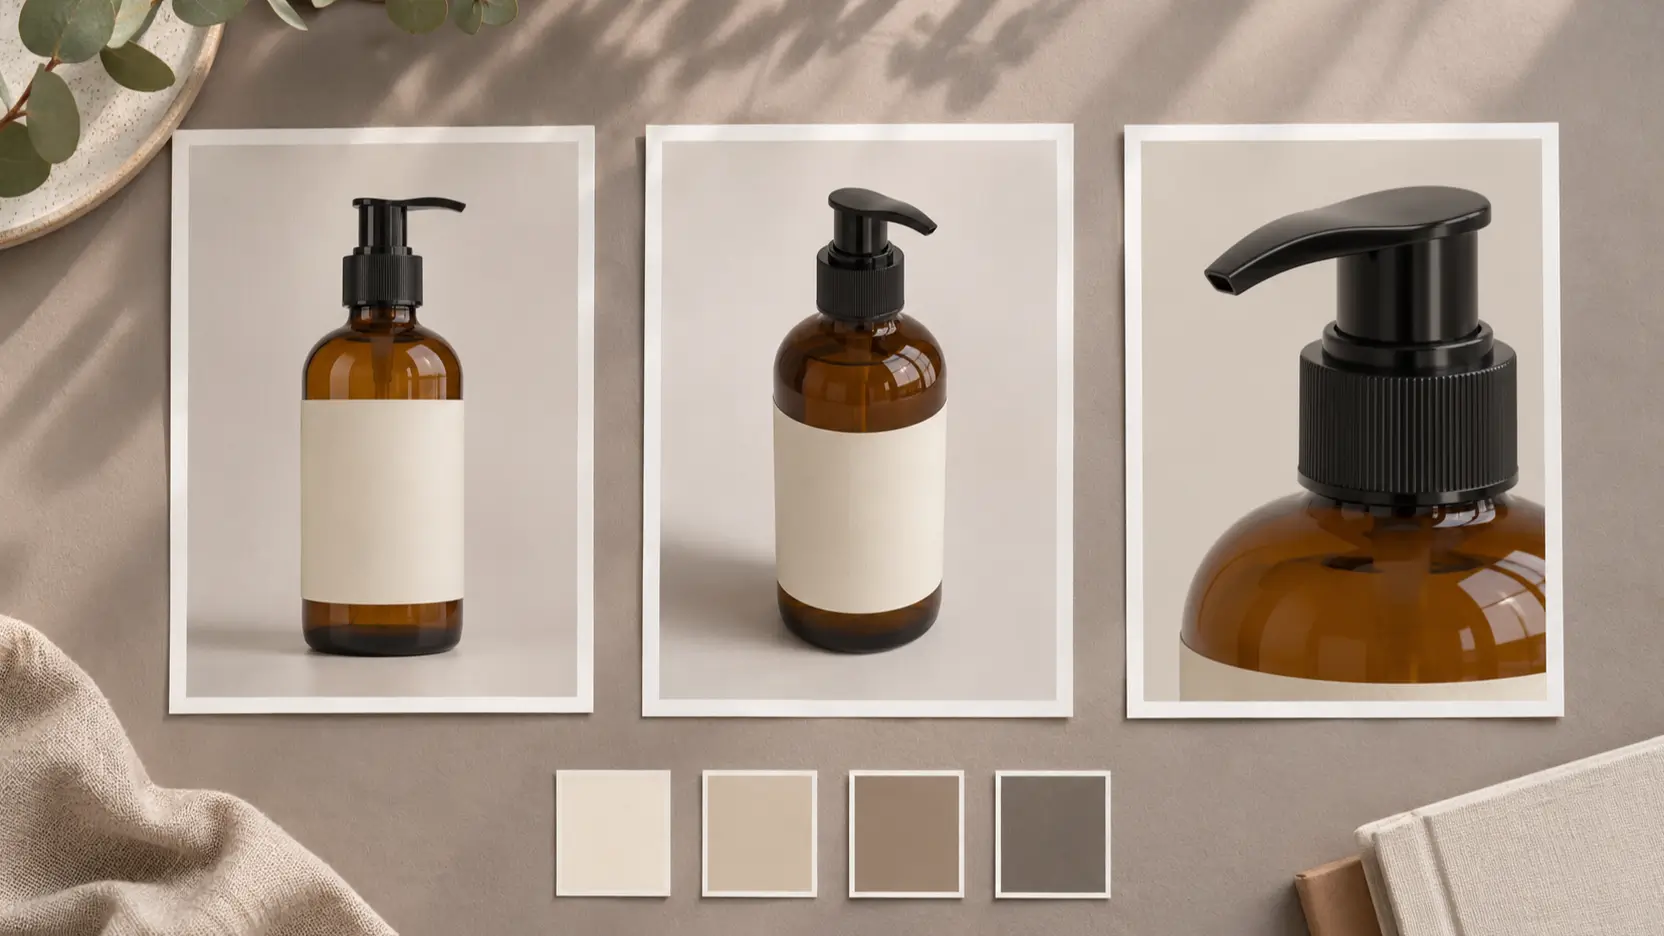
Start with a sharp photograph showing the complete item against a simple background. Keep the label visible and avoid glare that conceals its lettering. For a bottle, include the pump tip and base; for a bag, keep straps and fasteners inside the frame.
Add another angle only when it answers a specific question about shape or material. A close-up can clarify a closure, texture, or printed label. MiniMax's editing API accepts one to sixteen reference images, with each side between 128 and 8192 pixels. These are input limits, not a recommendation to upload sixteen photos. Reference-image requirements.
Write a brief that separates the product from its surroundings:
- Keep: bottle proportions, amber glass, black pump, label layout, and visible wording.
- Change: background, tabletop, light direction, and surrounding props.
- Deliver: one landscape banner with clear space for a headline.
Use only references you have permission to upload. If a photo shows an old packaging design, replace it before generating. An attractive result based on outdated packaging still fails the brief.
Generate your first product scene in five steps
- Select image editing. Open an official app linked from the model card and confirm H3 Image is available for the task. If your account does not expose it, use the documented API route below; do not assume another model has identical behavior.
- Upload the product reference. Begin with the clearest front or three-quarter view. If you add a detail photo, identify its role in the prompt: “Use image 1 for the product and image 2 only for the label detail.”
- Describe the permitted change. Specify a surface, background, light direction, and framing. Include the details that must remain intact. A request to preserve them is an instruction to test, not a guarantee.
- Choose the output shape. Use a square for a square placement or a landscape canvas for a banner. In the API, select either explicit dimensions or an aspect ratio with an area level; do not combine both sizing methods. Output-size guide.
- Generate one candidate and save it. Compare it with the reference before requesting more. Keep the prompt and source files together so that a later variation has a clear starting point.
To use the API, send an authenticated POST request to https://api.minimax.io/v1/images/edits. This example body uses a public reference URL; replace it with your own image URL and send your key through the Authorization: Bearer header:
{
  "model": "MiniMax-H3-Image",
  "prompt": "Keep the bottle in image 1 unchanged. Place it on an ivory tabletop with soft light from the left and empty space on the right.",
  "images": [{"image_url": "https://example.com/your-product.jpg"}],
  "size": "1600x900",
  "n": 1,
  "response_format": "url"
}
The official editing reference also documents direct file uploads. Download the returned image promptly because its URL is not guaranteed to remain available. The example is a request template, not a reported test result.
Write product photography prompts for specific placements
Good AI product photography briefs describe a shot that someone could arrange in a studio. Replace “make it premium” with a surface, lighting choice, camera angle, and clear restrictions.
For a simple studio composition, try:
Use the amber bottle in image 1 as the product reference. Preserve its silhouette, pump, glass color, and label. Place it upright on a matte ivory surface against a seamless cream background. Use broad, soft light from the upper left and a subtle contact shadow. Show the complete bottle at a three-quarter angle. Keep the right third clear for copy. Include only the bottle.
For a lifestyle variation, change the scene while keeping the product instructions:
Place the referenced bottle on a pale stone bathroom shelf beside a folded beige towel. Preserve the bottle's proportions, pump, and label. Use diffused window light from the left. Keep the towel behind the bottle without covering it. Frame at product height with the complete pump visible.
Treat these as starting prompts. Neither example establishes that H3 Image will preserve every printed character or reproduce a product exactly.
MiniMax's hosted image edits always apply prompt enhancement, and the API returns the expanded wording in revised_prompt. Read it when a result introduces unexpected scenery. Text-to-image offers a switch to disable enhancement, but image edits do not. Prompt-enhancement behavior.
Review ecommerce product images before export
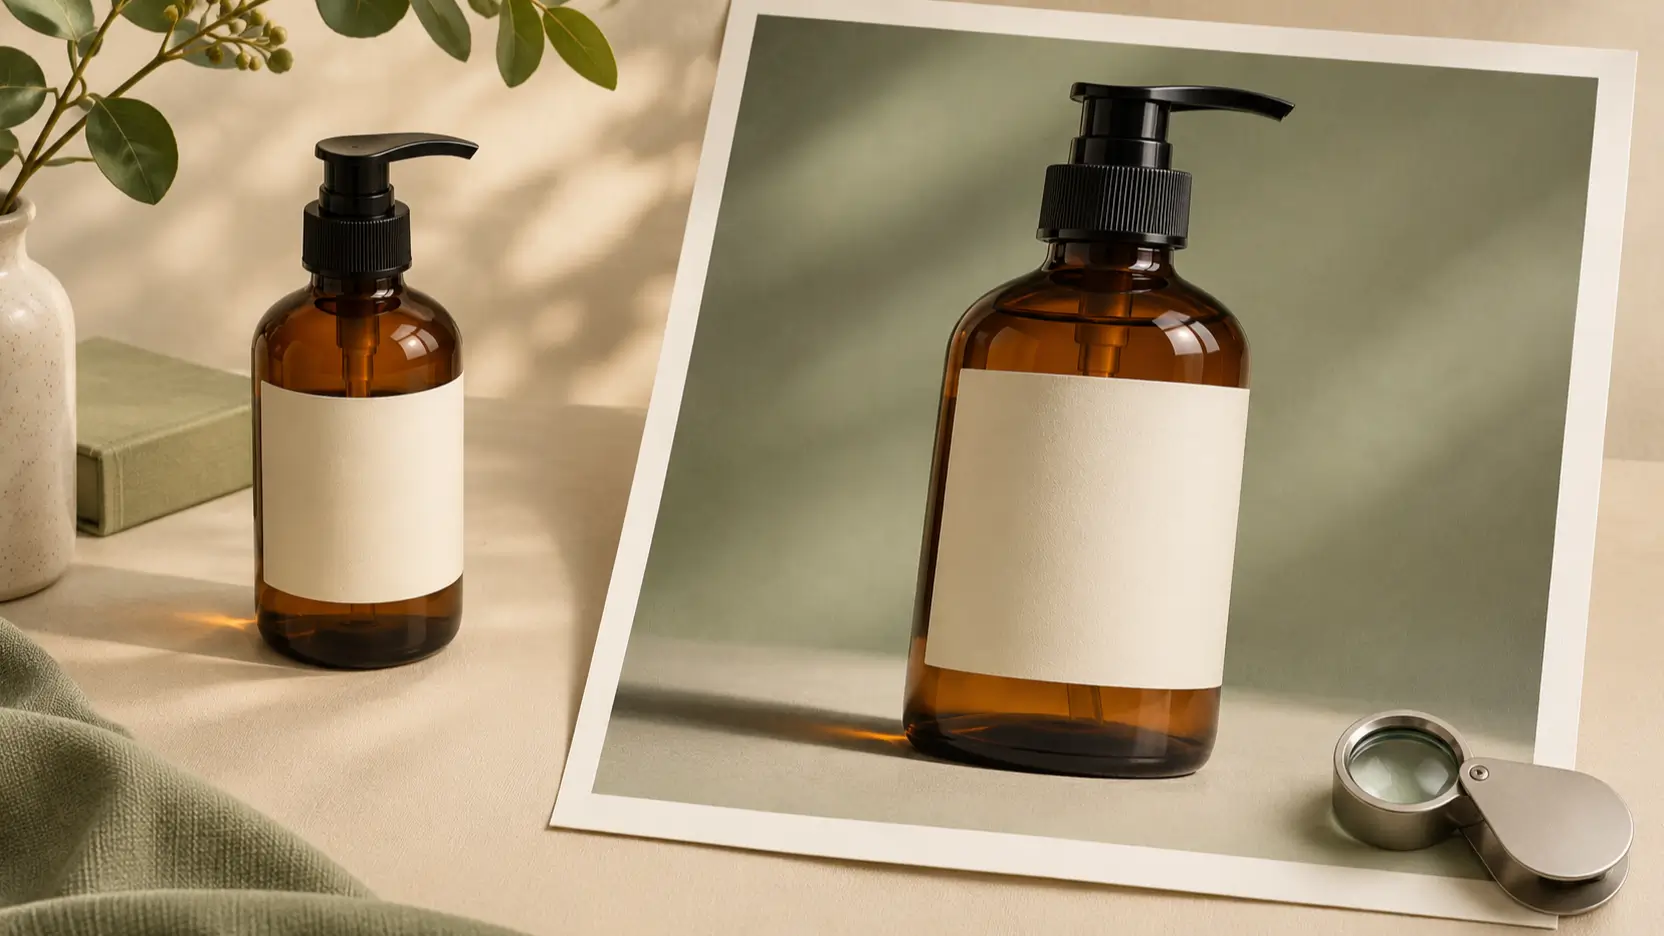
Judge the product before the styling. Open the original and generated image side by side, then inspect at full size. Check the silhouette, pump geometry, label edges, spelling, material finish, and color. Follow reflections around the glass and look for a shadow that meets the surface beneath the bottle.
If the label is wrong, reject that candidate even if the scene looks convincing. For work requiring exact packaging, use the original photographed product in a conventional composite and build the surrounding scene separately. You can then change the surroundings without redrawing the packaging.
When revising, change one instruction at a time. If the towel hides the bottle, move the towel; do not simultaneously request a new angle and stronger light. Return to the original reference when earlier generations start introducing unwanted changes.
After approval, export a master copy, then make the crop and compressed version required by the destination. Inspect the compressed file again, especially small type and sharp edges. Add promotional text in your layout editor after the image is approved.
For another image workflow, explore Picir's AI image workspace and check its current model options. That link does not imply H3 Image availability. For budgeting before a larger run, read the MiniMax H3 Image pricing guide.
FAQ
Do I need a real product photo?
Use one when the image must represent an existing item. Text-only generation has no visual reference for your exact packaging. It can help plan a scene or invent a concept product, but do not treat that concept as an accurate catalog photograph.
Can I rely on the model to preserve logos and labels?
Do not assume exact reproduction. Compare every visible word and design element with the approved packaging. If those details change, use the original product photograph or correct the asset in a conventional editor before publishing.
Can H3 Image produce a transparent product cutout?
The hosted API guide lists transparent backgrounds and masked edits as unsupported. A white backdrop is not transparency. If you need a cutout, remove the background separately and inspect the edges afterward. Current API limitations.
Conclusion
Begin MiniMax H3 Image product photography with one reliable reference and one controlled scene change. Approve the product's shape, color, and labeling before refining the atmosphere. Save the approved prompt with the source photo, then repeat the same checks on your next image.